
Next step is cutting the four pieces to their proper length. This is quick and easy, only requiring the table saw sled to cut them to perfect 90 degrees.


I mark the width, check the alignment with the blade, then cut both sides.

So far so good.
To make the two 45 degree angles for the chair, the three pieces that come
together with this joint need to be cut to exactly 22.5 degrees each. This is an
extreme angle to cut on the table saw and requires some set up.

I started the project with a total of ten fingers and I’d really like to complete the project with no less than ten fingers.
So, I’m going to use a box shaped guide that rides on my table saw fence. It is
made from MDF, and will hug the fence, allowing the board being cut to ride
at 90 degrees without any wobbling. It will support the wood, keep it
tight against the fence and table, and most importantly keep my hands
far away from the saw blade.

Most other pieces have dried, just one more to set in place...


It looks like a tunnel of glue!
(6 hrs. later) The glue on the guide box has dried, and now I can proceed with the cut
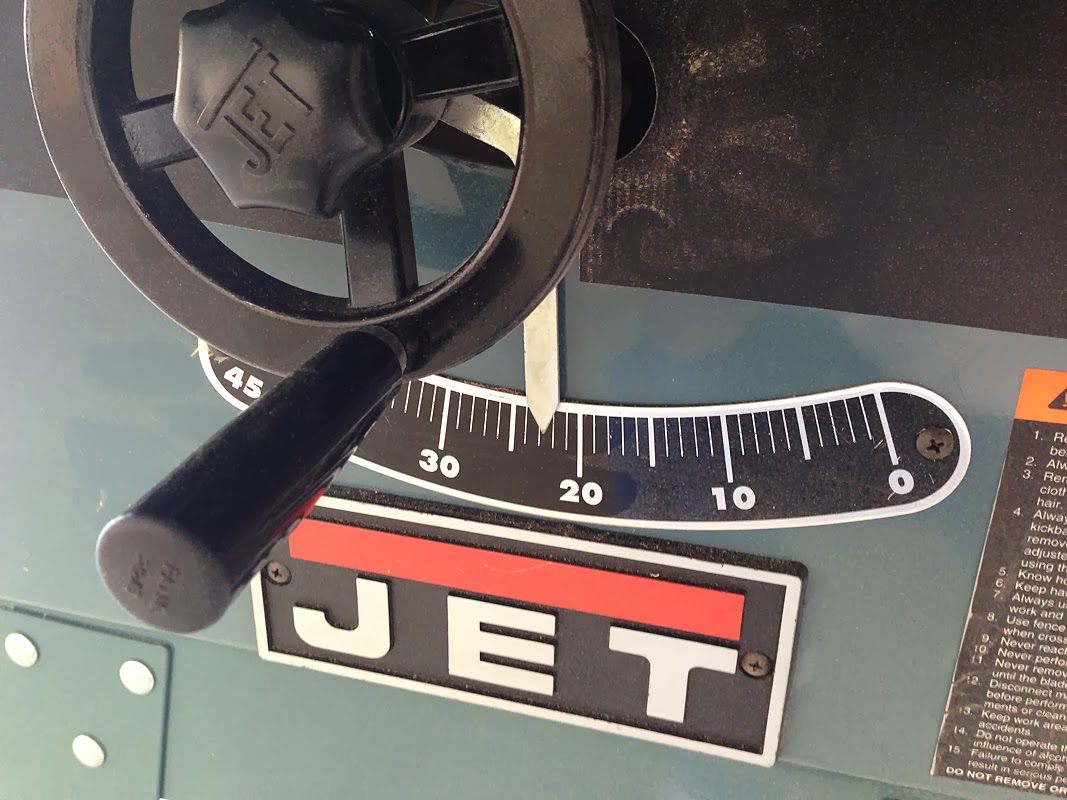
The blade is adjusted again to 22.5 degrees.


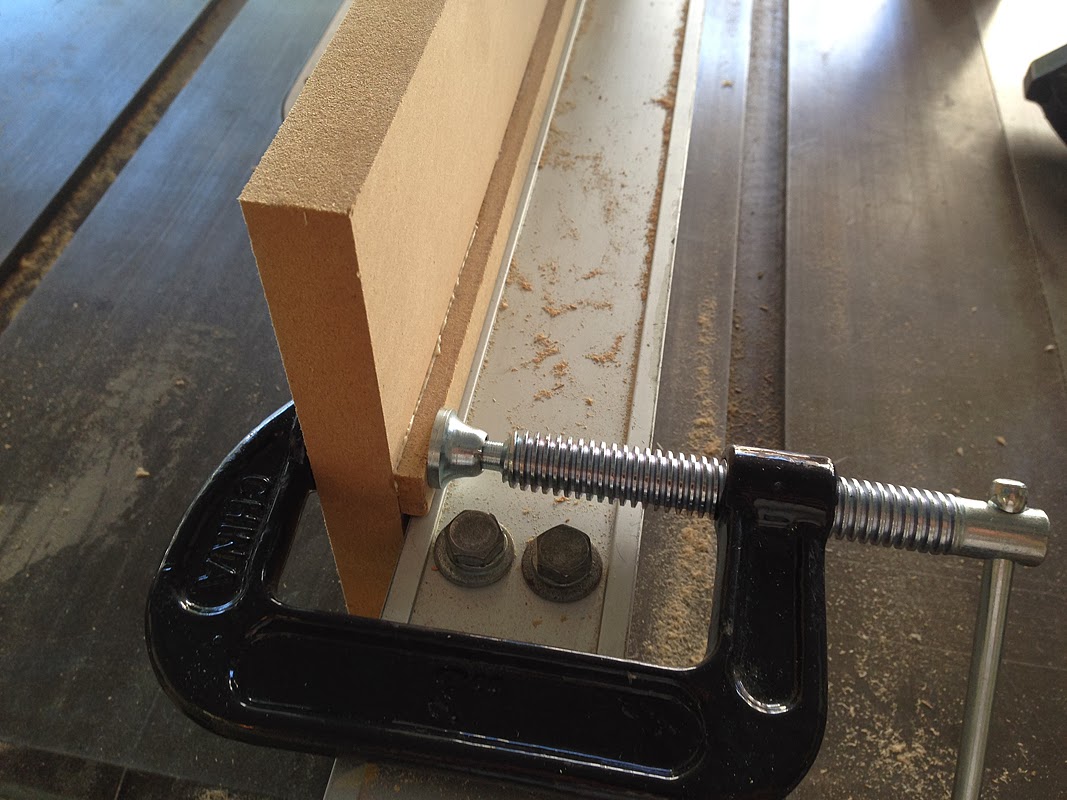
Always mark the board to be cut, and double check to make sure it's the
correct angle, on the correct side of the board. Not a time to make a
mistake! I clamp the first piece, and make sure it will run flat against the table, and check everything again. It looks good. Time to cut...

This picture shows the board after the cut has been made. Two clamps kept it firmly in place.


The result- nice sharp cuts!

No comments:
Post a Comment